
REVIEW · GREAT OCEAN ROAD & TWELVE APOSTLES
Great Ocean Road Private Day Tour
The coast looks unreal at sunrise. This private day tour is built for an easy, photo-filled Great Ocean Road run, with stops like Split Point Lighthouse, Lorne, Erskine Falls, Apollo Bay, the Twelve Apostles, Loch Ard Gorge, and London Bridge, ending in Port Campbell.
Two things I really like: you get real time at the big photo points instead of just driving past them, and the snack plan keeps you comfortable through a long day without having to hunt for meals. One watch-out: it’s a long day of driving, and if you’re a larger family or you’re sensitive to vehicle comfort, it’s smart to ask about the van setup before you go.
In This Review
- The highlights you’ll actually feel on the day
- Entering the day at Split Point Lighthouse and Aireys Inlet
- Lorne and Erskine Falls: beaches, town strolls, and a short waterfall hit
- Apollo Bay: a calm ocean-town stop with good breathing room
- Twelve Apostles: the iconic cliff views you’ll want to frame carefully
- Loch Ard Gorge: dramatic rock formations and that blue-water look
- London Bridge: the sea-arch viewpoint and a quick “wow” moment
- Port Campbell: closing the day with a proper finish
- What you’re really paying for: $401.66 and the value math
- The 12 to 13 hour day: timing, pacing, and staying comfortable
- Who this tour suits best (and who should think twice)
- Booking tips that make a big difference
- Should you book this Great Ocean Road private tour?
- FAQ
- How long is the Great Ocean Road private day tour?
- What time does the tour start?
- Is pickup offered?
- What’s included for food and drinks?
- Is this tour private?
- Are there entrance fees at the stops?
The highlights you’ll actually feel on the day
- Private group time: Only your group rides together, so you move at your pace and don’t get stuck matching everyone’s speed.
- Early start for daylight photos: A 7:00 am departure helps you hit key viewpoints while the day is fresh.
- Big coast hits in one sweep: You’ll cover lighthouse, waterfalls, ocean towns, and the Shipwreck Coast icons in a single run.
- Stops are planned for viewing, not racing: Each major stop is roughly an hour, so you can walk, take photos, and reset.
- Food and drink are handled: Bottled water, snacks, sandwiches, and soda/pop are included; breakfast is the only missing piece.
- Driver matters a lot: Reviews call out guides like JP and Jignesh for being friendly, calm, and making the drive feel like part of the experience.
More runs down the Great Ocean Road to the Twelve Apostles
- Great Ocean Road Small-Group Eco Tour from Melbourne★ 5.0 · 6,607 reviews
- From Melbourne: Great Ocean Road, 12 Apostles, Wildlife Tour★ 4.7 · 6,020 reviews
- Great Ocean Road Reverse Itinerary Boutique Tour – Max 11 Guests★ 5.0 · 4,186 reviews
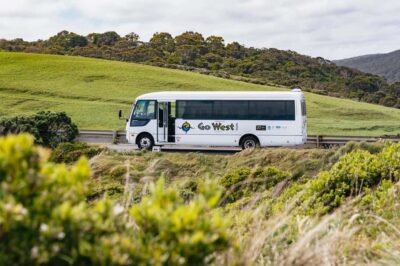
- Great Ocean Road Tour w/ Deluxe Minibus & Top-Rated Guide★ 4.8 · 2,644 reviews
Entering the day at Split Point Lighthouse and Aireys Inlet
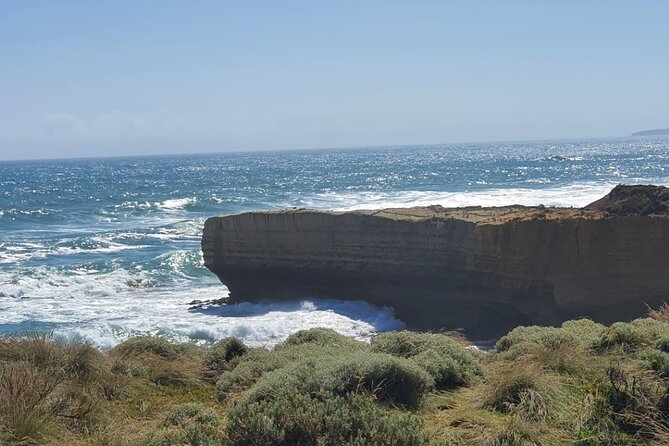
You start early at 7:00 am, and that timing matters because the first major stop is Split Point Lighthouse. It’s a classic beacon on the coast, and even if you don’t go deep into lighthouse history, the real win is getting your bearings along the shoreline. You can stretch your legs, grab those first wide ocean photos, and get a feel for what the day is going to look like.
This stop is listed with no admission ticket required and gives you about an hour. That’s enough time to slow down. Don’t rush it—this is where you set up your photography goals for the day and figure out what angles work best for you.
Lorne and Erskine Falls: beaches, town strolls, and a short waterfall hit
Next comes Lorne, a seaside town that works as both a palate cleanser and a photostop. You get around an hour here, which is perfect for a quick wander: look at the ocean frontage, check out the town atmosphere, and take a breath before the coastline gets dramatic.
After Lorne, you visit Erskine Falls. The schedule gives you about 45 minutes, and that short window is intentional: you’ll see the main waterfall area and get out before you feel rushed. The power of the falls is the point, and the surrounding greenery adds that natural “you can’t manufacture this” feeling.
Both Lorne and Erskine Falls are listed with free admission in the itinerary, so you’re not paying extra to make the day work. The practical value here is simple: you’re getting variety—town coast energy, then waterfall energy—without adding friction.
Apollo Bay: a calm ocean-town stop with good breathing room
Apollo Bay is the next one-hour stop. It’s set up for photos and walking, with a harbor and rolling coastal views that tend to look good from multiple angles. This is also the kind of stop that helps you reset mentally, especially after you’ve been on the road for a while.
If you’re the type who likes to take your time with photos, this is a good place to slow down. If you’re more “see it, shoot it, move on,” it still works because you can do the essentials without feeling trapped.
Like the other major viewpoints on the route, the itinerary shows free admission. So the cost of your experience stays stable—your money goes into the transport and the day’s planning, not unpredictable add-ons.
Twelve Apostles: the iconic cliff views you’ll want to frame carefully
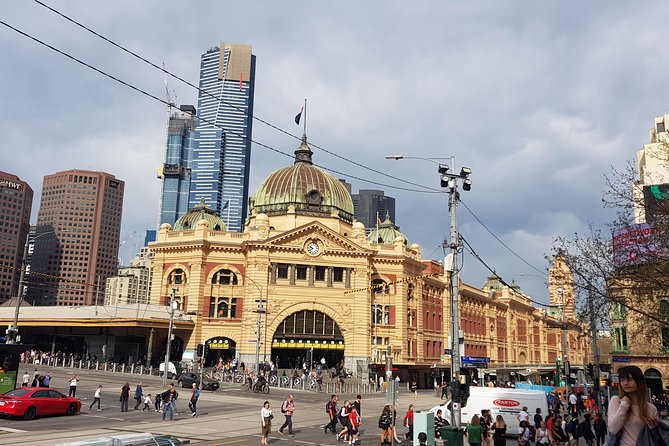
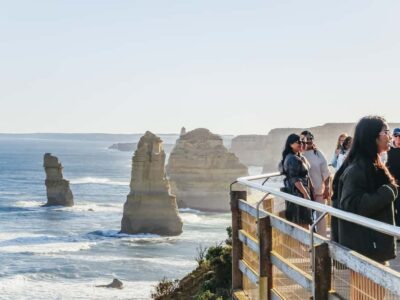
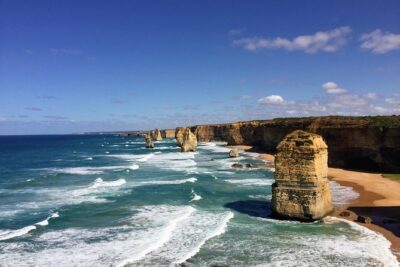
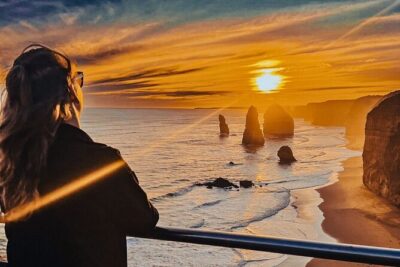
Then you get to the big one: the Twelve Apostles. You’ll be in the Port Campbell area, and the schedule gives about an hour at this stop. These sea cliffs on the Shipwreck Coast are the reason most people plan the trip in the first place, and it’s easy to see why—there’s a lot going on visually, from the cliff line to the ocean below.
One practical tip: use your time wisely. At the Twelve Apostles, you’ll often see lots of people moving fast. Instead of trying to out-run the crowd, pick a couple of viewpoint spots, take a first round of photos early in your visit, then return to whatever composition you like best after you’ve watched how the light changes.
Free admission is listed here too, so you’re paying for the experience of being there with transport and timing, not for entry.
Your own guide, your own pace: more private Melbourne tours


Loch Ard Gorge: dramatic rock formations and that blue-water look
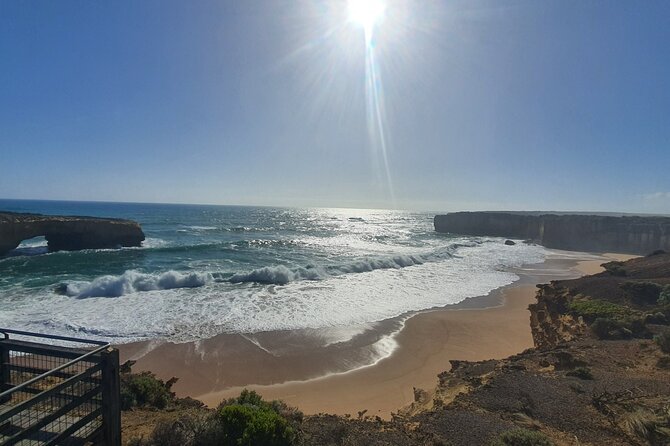
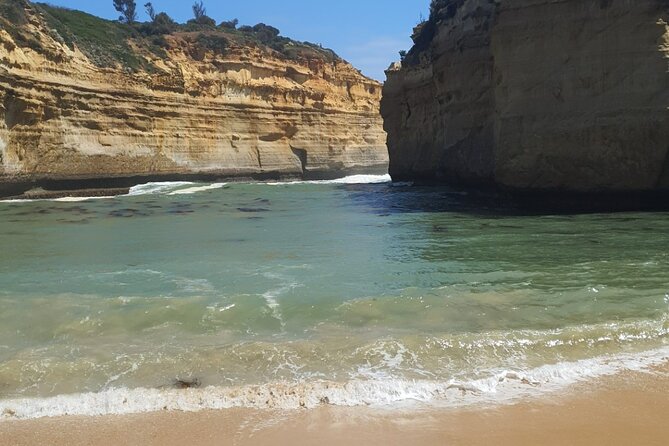
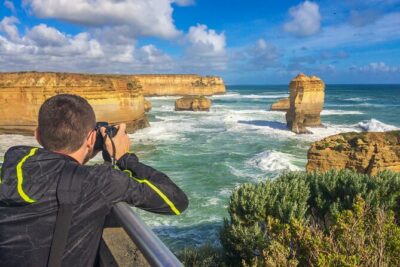
Next up is Loch Ard Gorge, also in the Port Campbell National Park area. You get about an hour at this stop, and it’s built for cliffside views and those water-and-rock contrast shots that always look good on camera.
This stop feels different from the Twelve Apostles. Where the Twelve Apostles give you scale and cliff silhouettes, Loch Ard Gorge leans more into dramatic rock shapes and the color of the water. Even if you’re not chasing perfect photos, it’s a great place to take in the coastline slowly—watch the way the water moves against the formations.
Like the other stops, admission is listed as free. That helps keep the day feeling straightforward and predictable.
London Bridge: the sea-arch viewpoint and a quick “wow” moment
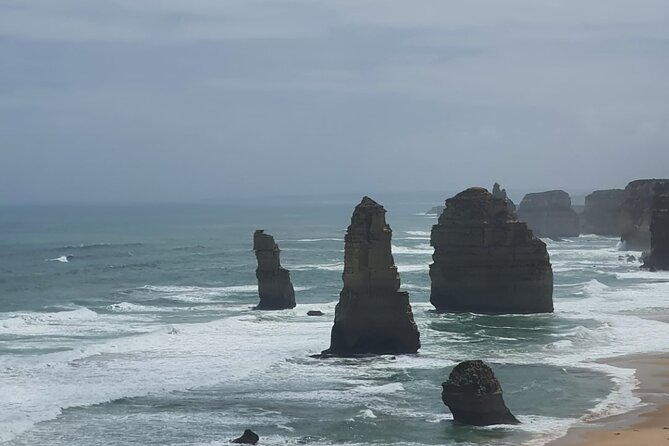
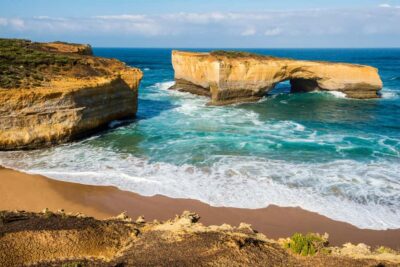
London Bridge is next, with about an hour on the schedule. It’s centered on a sea arch viewpoint, and this kind of stop is all about one thing: standing in the right place and letting the coastline do the talking.
This is a good moment in the day to reassess your photo list. If you’re running low on space on your phone or camera, do a quick check now and manage storage before the final segment.
Free admission is also listed. So again, you’re not paying to access the viewpoint. You’re paying for the fact that you’re getting to the viewpoint with someone handling the drive and timing.
Port Campbell: closing the day with a proper finish
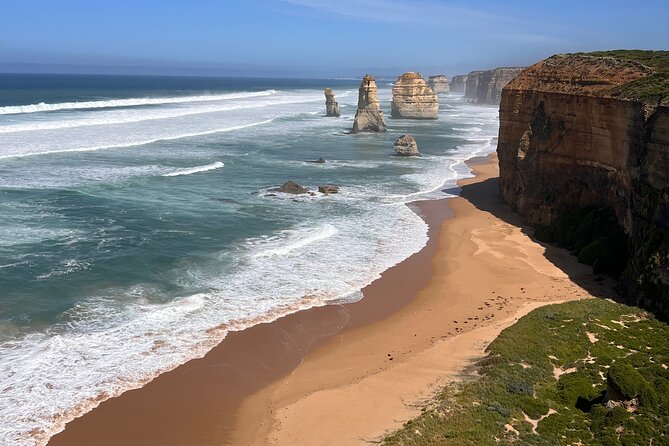
Finally, you end in Port Campbell with about an hour. This last stop matters because it’s not just another lookout—it’s a chance to sit with the day. Port Campbell gives you a coastal town setting to balance all the cliff viewing you’ve done earlier.
Use this time to relax and do the “last photos” sweep. Also, it’s when you’ll appreciate having had included snacks and water earlier, since you’ve basically been on the move all day. If you’re prone to getting hungry, this is where you’ll be glad the tour includes sandwiches and soda/pop.
Port Campbell is also where the day’s driving effort turns into a clear payoff: the itinerary has you hitting the major icons, then returning you to a town to decompress.
What you’re really paying for: $401.66 and the value math
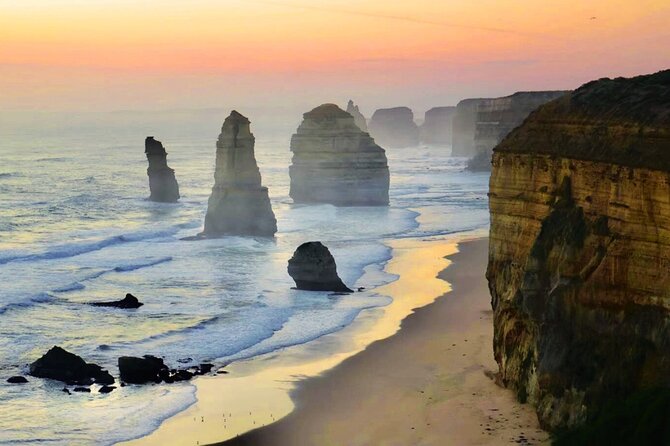
At $401.66 per person for a private tour, you’re not buying a cheap day trip. You’re buying convenience, planning, and private transport that covers a lot of ground without you dealing with navigation and timing between stops.
Here’s the value angle I’d focus on:
- Private format: It’s your group only, so the experience is less chaotic than shared shuttles.
- Transport and time: The tour runs about 12 to 13 hours, and travel time is included in that total.
- Included fuel for comfort: Air-conditioned vehicle, bottled water, snacks, sandwiches, and soda/pop are included.
- A full circuit of icons: You hit multiple major Great Ocean Road and Shipwreck Coast stops in one day.
The price also makes more sense if you’re traveling as a group and can split the cost across family members or friends. The tour even notes group discounts, which can improve the math if your group qualifies.
One note from experience-based feedback: vehicle comfort can make or break a long drive. If you’re sensitive to seat comfort or noise, don’t assume all private vans feel the same. In one case, a family described a small, loud van setup and cramped discomfort. That’s not something you can predict without asking, so it’s worth confirming vehicle details for your specific booking.
The 12 to 13 hour day: timing, pacing, and staying comfortable
This is a full-day outing, starting at 7:00 am. That early departure is great for light and less crowded viewpoints, but it also means you’ll want to plan your energy like it’s a hike day, not a casual stroll day.
Pacing is built into the itinerary: most major stops are about an hour, with Erskine Falls shorter at 45 minutes. That structure is helpful because it prevents the classic Great Ocean Road problem: getting stuck doing endless driving with only quick stops for photos.
Food is also built in. Breakfast is not included, so you should eat before pickup. After that, you’re covered with bottled water, snacks, sandwiches, and soda/pop, which takes pressure off finding a café at the exact wrong moment—especially if you’re trying to keep your schedule intact.
And yes, the driving is long. The benefit of a private driver is that you’re not coordinating multiple vehicles or waiting for other groups at every stop. A calm, attentive driver also helps you enjoy the day instead of counting minutes.
Who this tour suits best (and who should think twice)
This is ideal for you if you want:
- A one-day Greatest Hits of the Great Ocean Road and Shipwreck Coast
- A private setup for families, couples, or small groups
- A day where someone else handles route flow and timing
- A comfort-forward tour with air-conditioned transport and included snacks
It might be less ideal if:
- You’re traveling with a larger group and care a lot about vehicle space and seat comfort
- You dislike long days in a van and would rather do a slower, multi-day route with overnight stops
If you’re in the first category, you’ll likely feel like you’re getting good value for time and convenience. If you’re in the second category, consider whether a more spread-out itinerary matches your style better.
Booking tips that make a big difference
A few practical moves will help you get the best experience:
- Ask about the exact vehicle size and layout for your group. That’s especially important if you have multiple adults or a family group.
- Bring layers. The coast can shift from cool to mild, and you’ll spend hours moving between viewpoints.
- Treat each stop like a mini session. Pick a couple of photo spots, then relax and enjoy the view after you get your shots.
Also, this tour tends to get booked about 32 days in advance on average. If you’re traveling in a busy season or on a specific date, booking earlier helps.
Should you book this Great Ocean Road private tour?
I think you should book this tour if you want an efficient, well-paced day that hits the headline sites without the hassle of driving yourself through a long route. The included water, snacks, sandwiches, and soda/pop reduce stress, and the stop timing gives you real time for photos and walking—not just a quick look.
I’d be cautious if vehicle comfort is a top priority for your group, or if you’re the type who hates long driving days. In that case, confirm your vehicle details before you pay, and pack for comfort like you would for a full day outdoors.
If you get a good van setup and a calm guide, this is the kind of day that turns the Great Ocean Road from a list of famous names into something you can feel—lighthouse to cliffs to sea arches, all in one outing.
FAQ
How long is the Great Ocean Road private day tour?
The tour runs about 12 to 13 hours, and travel time is included in the total.
What time does the tour start?
The start time is 7:00 am.
Is pickup offered?
Yes, pickup is offered.
What’s included for food and drinks?
The tour includes bottled water, snacks, sandwiches, and soda/pop. Breakfast is not included.
Is this tour private?
Yes. It’s a private tour/activity, so only your group participates.
Are there entrance fees at the stops?
The itinerary lists admission tickets as free at each stop.
More Tour Reviews in Melbourne
- Great Ocean Road Small-Group Eco Tour from Melbourne
★ 5.0 · 6,607 reviews - From Melbourne: Great Ocean Road, 12 Apostles, Wildlife Tour
★ 4.7 · 6,020 reviews - Laid back, Yarra Valley Wine Tour: Wine, Cider, Gin, Beer + Choc
★ 5.0 · 4,552 reviews - Great Ocean Road Reverse Itinerary Boutique Tour – Max 11 Guests
★ 5.0 · 4,186 reviews - Penguin Parade, & Wildlife Encounters Eco Tour from Melbourne
★ 5.0 · 3,774 reviews - Melbourne: Yarra Valley Wine, Gin, Whisky and Chocolate Tour
★ 5.0 · 3,667 reviews
More Private Melbourne Tours
- Private Great Ocean Road Tour (overnight option)
★ 5.0 · 320 reviews - Boroughs of Melbourne – Signature Private City Tour
★ 5.0 · 114 reviews - Private Great Ocean Road – The Ultimate Aussie Adventure
★ 5.0 · 78 reviews - Private and Customised Great Ocean Road and Luxury Tour
★ 5.0 · 76 reviews - 12 Apostles and Shipwreck Coast Express Private Tour
★ 5.0 · 72 reviews - Dandenong Ranges Private Day Tour
★ 5.0 · 65 reviews
The Great Ocean Road, A Few More Ways
- Great Ocean Road Small-Group Eco Tour from Melbourne
★ 5.0 · 6,607 reviews - From Melbourne: Great Ocean Road, 12 Apostles, Wildlife Tour
★ 4.7 · 6,020 reviews - Great Ocean Road Reverse Itinerary Boutique Tour – Max 11 Guests
★ 5.0 · 4,186 reviews - Great Ocean Road Tour w/ Deluxe Minibus & Top-Rated Guide
★ 4.8 · 2,644 reviews - Melbourne Great Ocean Rd Reverse Tour London Bridge Wildlife
★ 4.7 · 2,252 reviews - Melbourne: Great Ocean Road Extended–Top Stops&London Bridge
★ 4.5 · 1,920 reviews
Fresh off the rank: Melbourne tours we have written up lately





Great Ocean Road & Twelve Apostles, side by side.
 ★ 5.0Great Ocean Road Small-Group Eco Tour from MelbourneFrom $1066,607 reviews
 ★ 4.7Great Ocean Road, 12 Apostles, Wildlife TourFrom $946,020 reviews
 ★ 5.0Great Ocean Road Reverse Itinerary Boutique Tour – Max 11 GuestsFrom $1064,186 reviews
 ★ 4.8Great Ocean Road Tour w/ Deluxe Minibus & Top-Rated GuideFrom $1052,644 reviews
 ★ 4.7Melbourne Great Ocean Rd Reverse Tour London Bridge WildlifeFrom $462,252 reviews
 ★ 4.5Great Ocean Road Extended–Top Stops&London BridgeFrom $421,920 reviews
 ★ 4.8Great Ocean Road Boutique Tour in ReverseFrom $971,471 reviews
 ★ 5.0Great Ocean Road Full-Day Sunset Eco Tour from MelbourneFrom $1141,085 reviews
Browse the lists this tour appears in