
REVIEW · GREAT OCEAN ROAD & TWELVE APOSTLES
Melbourne Great Ocean Rd Reverse Tour London Bridge Wildlife
Reverse Great Ocean Road changes everything. This day trip is built for better light and easier photos thanks to a reverse itinerary, and I like that you also get an extra stop at London Bridge instead of just rushing between the big names. Add in wildlife chances (koalas, kangaroos, parrots) and an on-road mix of coastal icons plus small-town breaks, and it feels like a full day that actually stays fun instead of turning into a photo dash.
One thing to plan for: it’s a long day (12–13 hours) with tight timing at major stops. If you want a slow beach wander at the Twelve Apostles or you’re picky about bathroom breaks, you’ll want to go in with realistic expectations and move fast when the group regroups.
In This Review
- Key highlights to zero in on
- Why reverse Great Ocean Road timing helps your photos
- London Bridge: the quick stop that changes the whole day
- Loch Ard Gorge and the Twelve Apostles: what you get (and what to watch for)
- Great Otway National Park and the secret wildlife viewing stop
- Apollo Bay lunch break at a realistic pace
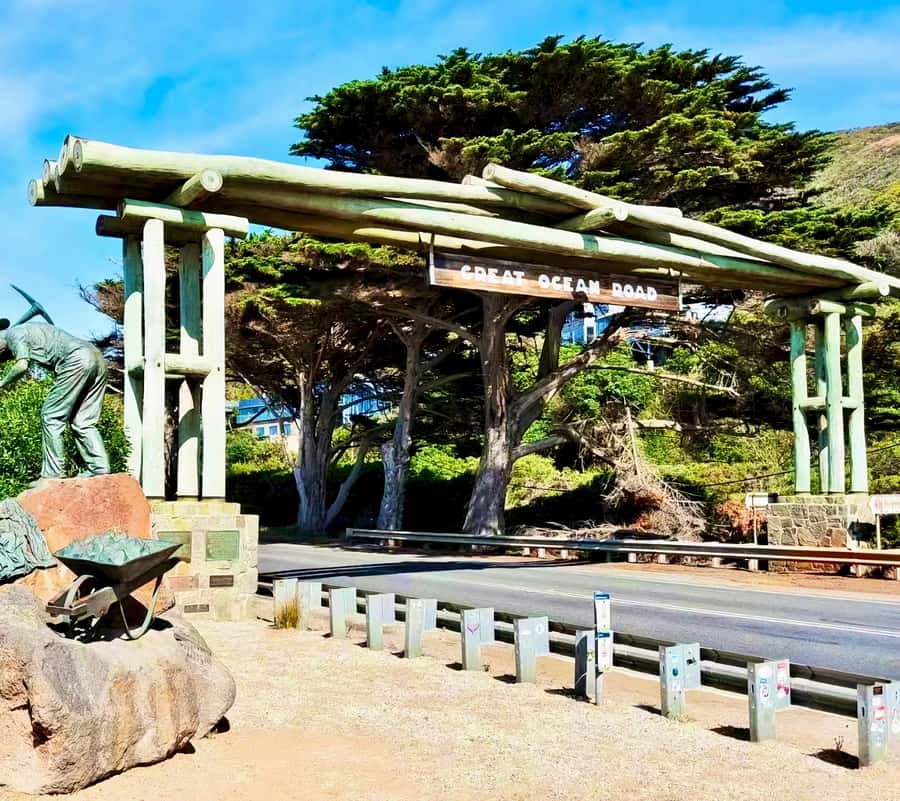
- Eastern View Memorial Arch: the photo finish move
- Coach vs mid-size vs premium van: which one fits your style
- Price and value: is $46 really enough for this much driving?
- Practical planning: what to bring so the day doesn’t annoy you
- Who this reverse Great Ocean Road tour is best for
- So… should you book this Great Ocean Road reverse tour?
- FAQ
- What time does the tour start?
- How long is the tour?
- Is lunch included?
- What extra stop does this tour include besides the main Great Ocean Road icons?
- Can I expect to see wildlife like koalas and kangaroos?
- Are there different vehicle options and group sizes?
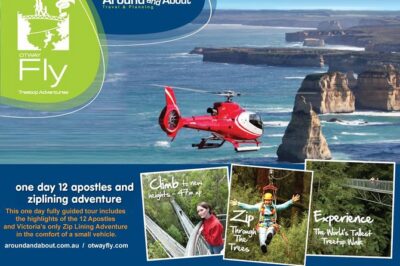
- Is the optional helicopter tour included?
Key highlights to zero in on
- Reverse route for better photo timing: you hit several viewpoints with less crowd pressure and more forgiving backlight.
- London Bridge stop: a bonus photo and sightseeing moment that many Great Ocean Road tours skip.
- Wildlife watching during forest-and-bush breaks: keep your eyes open for koalas, kangaroos, and parrots.
- A stop at Loch Ard Gorge and the Twelve Apostles: classic icons plus walkable photo spots.
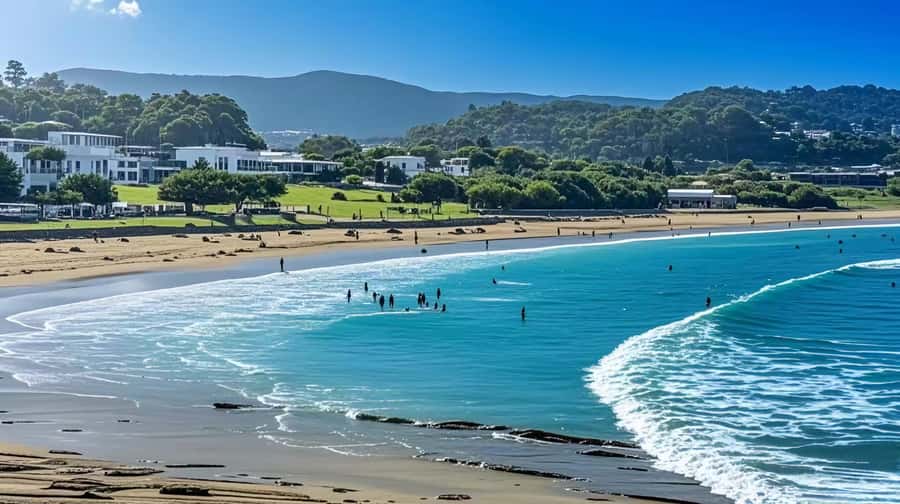
- Apollo Bay lunch window: a proper seaside reset mid-tour, with time to eat at your own pace.
More runs down the Great Ocean Road to the Twelve Apostles
- Great Ocean Road Small-Group Eco Tour from Melbourne★ 5.0 · 6,607 reviews
- From Melbourne: Great Ocean Road, 12 Apostles, Wildlife Tour★ 4.7 · 6,020 reviews
- Great Ocean Road Reverse Itinerary Boutique Tour – Max 11 Guests★ 5.0 · 4,186 reviews
- Great Ocean Road Tour w/ Deluxe Minibus & Top-Rated Guide★ 4.8 · 2,644 reviews
Why reverse Great Ocean Road timing helps your photos
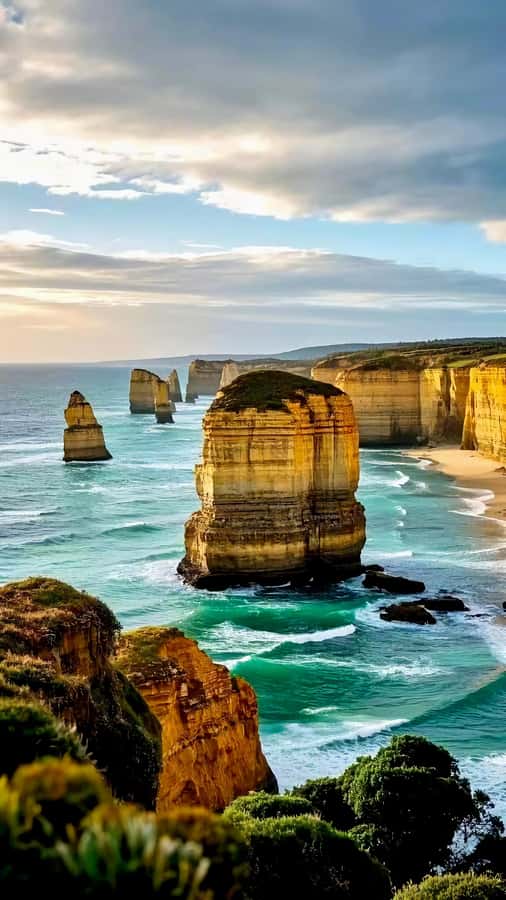
Great Ocean Road day tours live or die on timing. Standard routes often funnel you through the same viewpoints when the sun is behind the cliffs or when the tour crowd is peaking. This one flips the direction, so you’re more likely to catch the coast with light that behaves better for photos.
You can feel the difference in how stops are paced. The route is designed so you’re not spending hours stuck behind other groups at the most popular lookouts. Instead, you get a sequence of viewpoints where you can step out, take photos, and still be ready when the bus rolls to the next stop.
Also, the guide matters. Many days succeed because the guide keeps everyone moving at the right tempo. From the guide names I’ve seen on this experience (including David Hsu, Jesen, Yang, Philip, William, Daniel Huang, Allan, and Daniel), the common thread is clear explanations, organized regrouping, and the kind of narration that makes long drives feel shorter.
London Bridge: the quick stop that changes the whole day
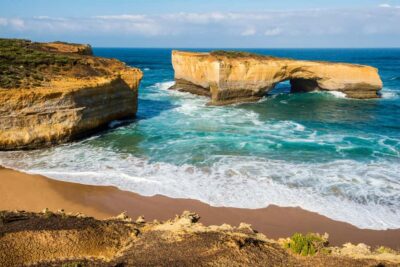
London Bridge is the kind of spot that’s easy to miss if a tour only targets the headline icons. On this route, it gets its own dedicated photo stop with free time for sightseeing. The time allocation is short (about 15 minutes), so treat it like a photo sprint plus a quick look for angles.
Here’s why it’s worth it: London Bridge sits among coastal rock formations that look different from multiple distances and elevations. Even if you only have a few minutes, you’ll usually be able to find a clean foreground for shots and then grab one or two wider frames before you’re back in the vehicle.
If you’re traveling for photos, London Bridge is a nice change of pace. It breaks up the day so you’re not going straight from one iconic cliff viewpoint to the next without a mental reset.
Loch Ard Gorge and the Twelve Apostles: what you get (and what to watch for)
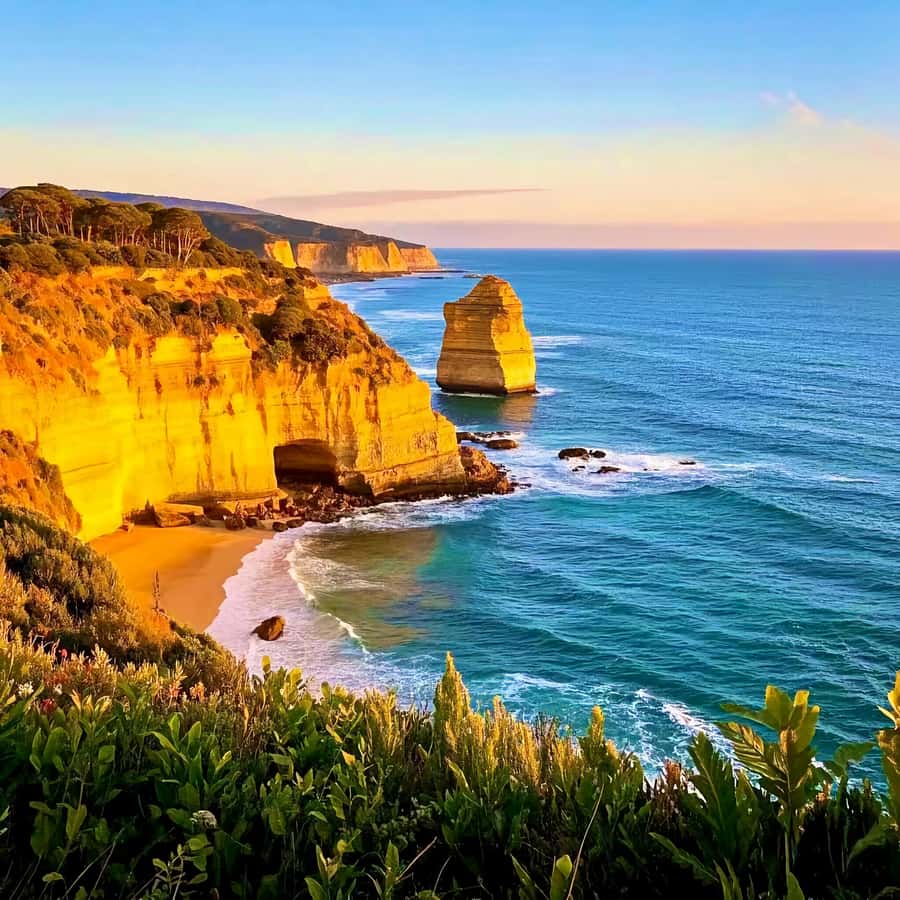
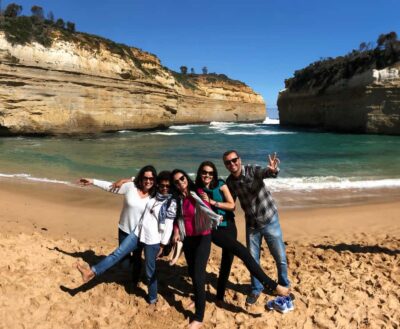
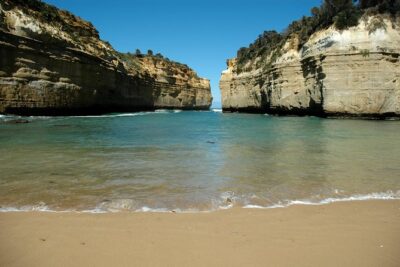
After London Bridge, the route heads to Loch Ard Gorge. You’ll get a photo stop plus time to walk and check out the views. This is one of those locations where moving your feet even a little changes your perspective—angles of the cliffs and rock formations shift fast.
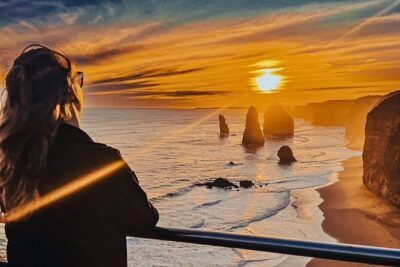
Then comes the big one: the Twelve Apostles. This stop includes visit time, free time, and a walk opportunity. This is where you want to be ready for “everyone wants the best angle” energy. If the weather turns or wind picks up, the crowd can surge at the most protected lookouts. The reverse route helps, but it doesn’t erase crowds entirely.
A couple practical considerations:
- If you’re hoping for a long beach-style time at the Twelve Apostles, the schedule may feel tighter than you want. The tour is built around multiple major stops in one day.
- If you prefer to photograph first and then linger, decide your order before you disembark. Waiting for the perfect shot can cut into your sightseeing time.
Still, the payoff is real. The Twelve Apostles are one of those places where even quick stops deliver strong visuals, and the walk segments help you get away from the “stand and shoot” routine.
Great Otway National Park and the secret wildlife viewing stop
This tour passes Great Otway National Park, which is a reminder that you’re not only seeing coast views—you’re also moving through habitat that supports wildlife.
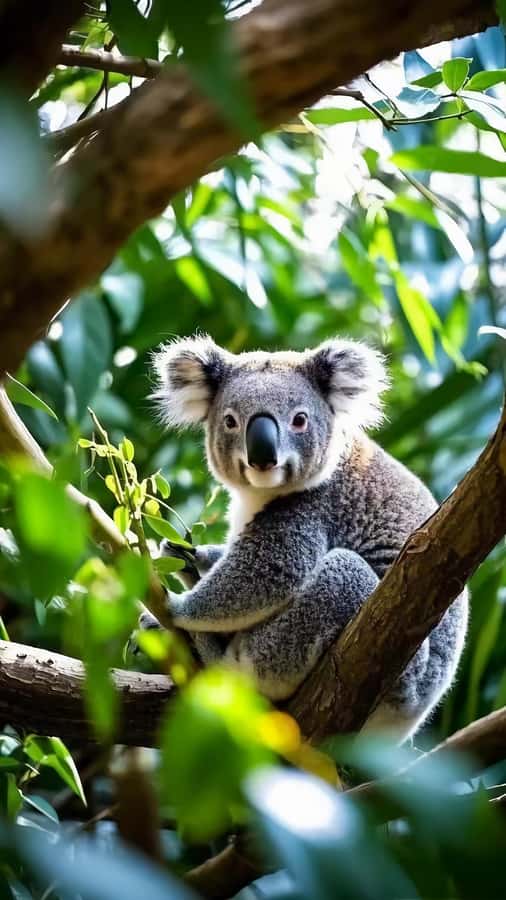
The most exciting part for many people is the secret stop with photo time plus a walk and wildlife viewing. The goal here is simple: slow down enough to look, then let nature do the rest.
What can you realistically spot?
- Koalas: often spotted in trees when the timing is right.
- Kangaroos: seen in the bushy areas near viewing spots.
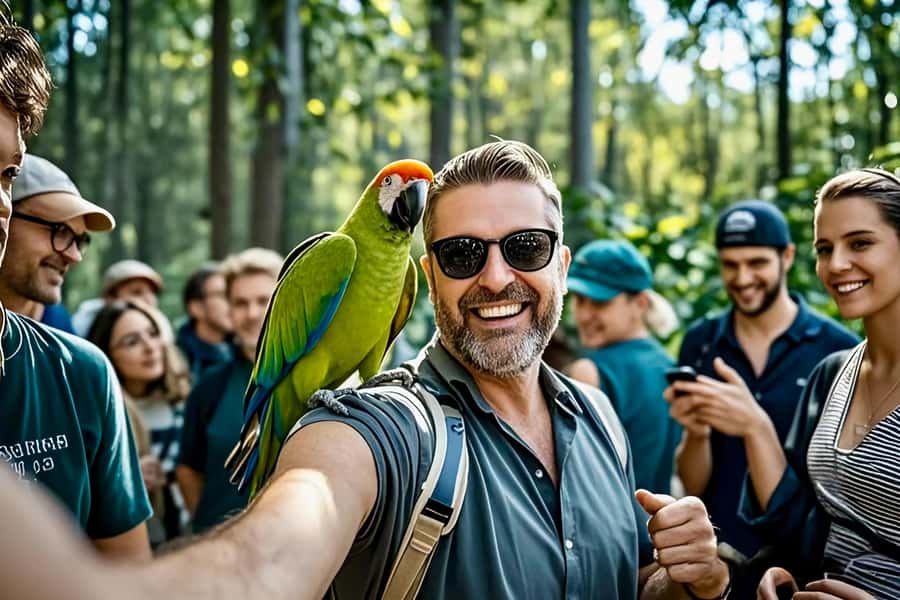
- Parrots: active and noisy, so if you hear it before you see it, that’s normal.
A tip that doesn’t require guesswork: keep your camera ready, but also watch the guide’s cues. Wildlife moments are short, and the group will move quickly to keep the day on schedule. You’ll get the best odds if you’re paying attention during the walk segments, not just at the roadside viewpoint.
Also, a note on the “on the day” factor: wildlife is never guaranteed. But the tour puts you in places where sightings are plausible—especially when the guide manages stop timing well.
More koala and kangaroo days around Melbourne


Apollo Bay lunch break at a realistic pace
Midday brings you to Apollo Bay, with a break time and lunch you handle on your own. This is one of the key value points of the day: it’s a seaside town stop, not just a transfer.
You’ll likely want to eat efficiently because the overall day is packed, but Apollo Bay gives you more room to breathe than eating in a parking lot. You can choose from seaside restaurants, and the town’s atmosphere helps reset you after the earlier viewpoint stops.
One more timing detail to plan around: the tour mentions a late lunch around 3 PM, and it suggests bringing snacks. I agree with that approach. If you’re the type who gets cranky when meals slip, snacks are your stress insurance and keep you from feeling “hangry” between the morning viewpoints and your town lunch.
Eastern View Memorial Arch: the photo finish move
After Apollo Bay, the tour ends with a key viewpoint stop: Memorial Arch at Eastern View. This is a photo stop, not a long walk, which makes it ideal as a finishing moment.
Why it works as an ending: by this point, you’ve already collected your major coastal icons, and now you’re adding one more structured viewpoint to your photo set. It’s the kind of stop that helps your day feel complete, even if you’re getting tired.
This is also the point where your best strategy is to move quickly, grab your photos, and then relax during the ride back.
Coach vs mid-size vs premium van: which one fits your style
You basically choose between three comfort levels, and the difference is not just “bigger seat” vs “smaller seat.” It’s about how the day feels when you’re tired.
1) Classic Coach Tour
- Air-conditioned coach
- Depart from central Melbourne around 7:00–7:30 AM
- Best if you want lower price and don’t mind a larger group
2) Mid-Size Coach Tour
- Limited to no more than 35 guests
- Still includes the reverse itinerary and the added London Bridge stop
- Ideal when you want a compromise: a smaller feel than classic coach, without jumping to premium pricing
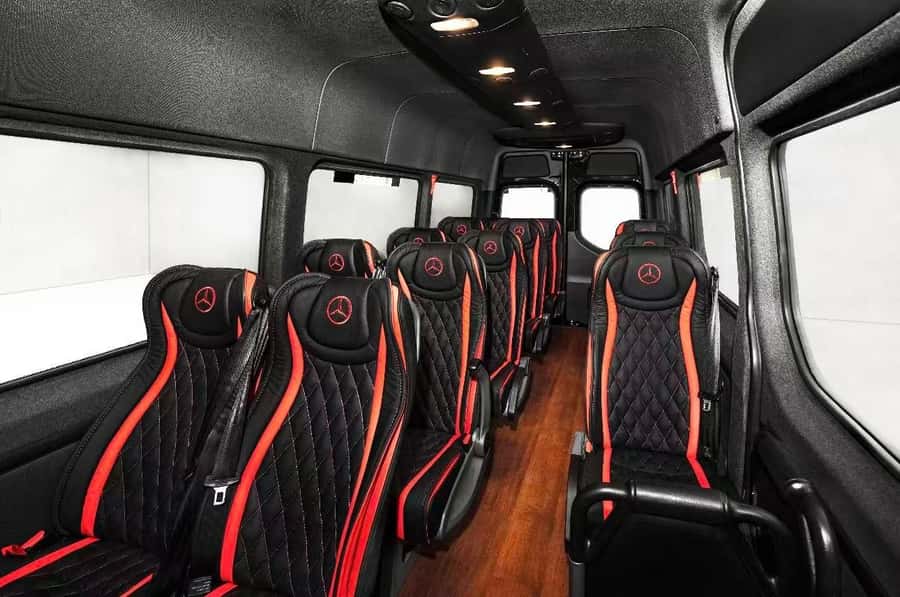
3) Premium Small-Group Tour (Mercedes van)
- Limited to 15 guests
- Complimentary pickup in Melbourne CBD area (with a note that some areas like St Kilda Road within postal code 3000 are not included)
- Later departure around 8:00 AM
- Best if you want a more personal vibe and a quieter ride where wildlife viewing cues feel more actionable
If you’re traveling solo and you care about comfort and attention, the premium van is the easiest call. If you’re a budget traveler who still wants the full highlights, Classic can be great. If you’re in the middle, the mid-size option is often the sweet spot.
Price and value: is $46 really enough for this much driving?

At $46 per person, this is one of the more affordable ways to do a major chunk of the Great Ocean Road in a single day with transport and a live guide.
Here’s why it can feel like good value:
- You’re paying for a full day of air-conditioned transport, organized stops, and guide narration.
- You get more than just the big two or three icons. The route includes Loch Ard Gorge, the Twelve Apostles, Apollo Bay, plus the added London Bridge.
- You also get built-in chances for wildlife sightings during guided walk/view moments.
What you should not expect at this price: the kind of slow, private pacing you’d pay for on a multi-day trip. This is a one-day route. The value comes from variety and time efficiency, not from lingering.
If your goal is to cover the essentials without renting a car, this price looks like fair math.
Practical planning: what to bring so the day doesn’t annoy you
A long coastal day is mostly won before you even board the bus. Bring:
- Comfortable shoes (you’ll do walk segments at multiple stops)
- Hat and sunscreen
- Camera
- Water
You also need to know what the tour doesn’t allow. Plan around these rules:
- No baby strollers
- No luggage or large bags
- No food and drinks in the vehicle
- No smoking in the vehicle
If you hate dragging around a daypack, pack light. If you’re prone to motion sickness, it can help to prepare yourself in advance, since you’ll be on the road for a while.
Who this reverse Great Ocean Road tour is best for
This works especially well for:
- First-timers in Melbourne who want a major nature day without car logistics
- Photo-focused travelers who care about timing and backlight
- Wildlife lovers who want structured chances to spot koalas and kangaroos
- People who like a guided day where the guide handles pacing and you handle the moments
It’s less ideal for:
- Anyone who can’t handle long days and quick regrouping
- People who want a slow beach day at each icon
- Wheelchair users, since it’s not suitable for wheelchair access
So… should you book this Great Ocean Road reverse tour?
If you want the Great Ocean Road highlights with less crowd stress, the reverse itinerary is a smart choice. Add the extra London Bridge stop and you’re getting more variety than the “only the headline icons” tours. The wildlife viewing component is a genuine bonus, and the route puts you where sightings are plausible rather than only at roadside lookouts.
Book it if:
- You’re comfortable with a packed schedule
- You want a guide-led day with organized photo stops
- You like the idea of the ocean icons plus a real seaside town break at Apollo Bay
Skip it (or adjust expectations) if:
- You want lots of free time at one viewpoint
- You’re chasing a guaranteed wildlife sighting (no tour can promise that)
- You’re sensitive to long drives and quick stop timing
If you’re flexible and you pack snacks, water, and comfy shoes, this is the kind of day trip that leaves you with photos plus stories, not just sore legs.
FAQ
What time does the tour start?
Most departures are around 7:00 to 7:30 AM for the Classic Coach and Mid-Size Coach options. The Premium small-group van typically departs later, around 8:00 AM.
How long is the tour?
The duration is about 12–13 hours total.
Is lunch included?
Lunch is not included. You’ll have a break in Apollo Bay where you can choose where to eat.
What extra stop does this tour include besides the main Great Ocean Road icons?
This tour includes an extra stop at London Bridge for a photo stop and sightseeing.
Can I expect to see wildlife like koalas and kangaroos?
The tour includes wildlife viewing opportunities during designated viewing/walk stops, with chances to see koalas, kangaroos, parrots, and other native wildlife. Sightings are not guaranteed, but the route is set up for these encounters.
Are there different vehicle options and group sizes?
Yes. There’s a Classic coach, a Mid-Size coach limited to no more than 35 guests, and a Premium Mercedes van limited to 15 guests.
Is the optional helicopter tour included?
No. There is an opportunity for a helicopter tour, but the helicopter cost is not included.
More Tour Reviews in Melbourne
- Great Ocean Road Small-Group Eco Tour from Melbourne
★ 5.0 · 6,607 reviews - From Melbourne: Great Ocean Road, 12 Apostles, Wildlife Tour
★ 4.7 · 6,020 reviews - Laid back, Yarra Valley Wine Tour: Wine, Cider, Gin, Beer + Choc
★ 5.0 · 4,552 reviews - Great Ocean Road Reverse Itinerary Boutique Tour – Max 11 Guests
★ 5.0 · 4,186 reviews - Penguin Parade, & Wildlife Encounters Eco Tour from Melbourne
★ 5.0 · 3,774 reviews - Melbourne: Yarra Valley Wine, Gin, Whisky and Chocolate Tour
★ 5.0 · 3,667 reviews
More Wildlife Around Melbourne
- From Melbourne: Great Ocean Road, 12 Apostles, Wildlife Tour
★ 4.7 · 6,020 reviews - Penguin Parade, & Wildlife Encounters Eco Tour from Melbourne
★ 5.0 · 3,774 reviews - Melbourne: Puffing Billy & Healesville Sanctuary Scenic Tour
★ 4.7 · 1,220 reviews - Phillip Island Penguins & Wildlife Day Tour from Melbourne
★ 5.0 · 867 reviews - Phillip Island Penguin and Koala Highlights Day-Trip from Melbourne
★ 5.0 · 775 reviews - Full-Day Phillip Island Tour with Kangaroo, Koala and Penguin Parade
★ 4.5 · 658 reviews
The Great Ocean Road, A Few More Ways
- Great Ocean Road Small-Group Eco Tour from Melbourne
★ 5.0 · 6,607 reviews - From Melbourne: Great Ocean Road, 12 Apostles, Wildlife Tour
★ 4.7 · 6,020 reviews - Great Ocean Road Reverse Itinerary Boutique Tour – Max 11 Guests
★ 5.0 · 4,186 reviews - Great Ocean Road Tour w/ Deluxe Minibus & Top-Rated Guide
★ 4.8 · 2,644 reviews - Melbourne: Great Ocean Road Extended–Top Stops&London Bridge
★ 4.5 · 1,920 reviews - From Melbourne: Great Ocean Road Boutique Tour in Reverse
★ 4.8 · 1,471 reviews
Fresh off the rank: Melbourne tours we have written up lately




Great Ocean Road & Twelve Apostles, side by side.
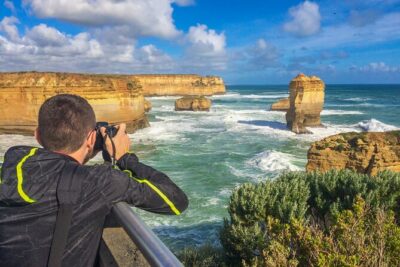 ★ 5.0Great Ocean Road Small-Group Eco Tour from MelbourneFrom $1066,607 reviews
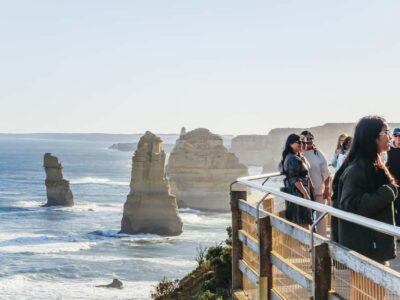 ★ 4.7Great Ocean Road, 12 Apostles, Wildlife TourFrom $946,020 reviews
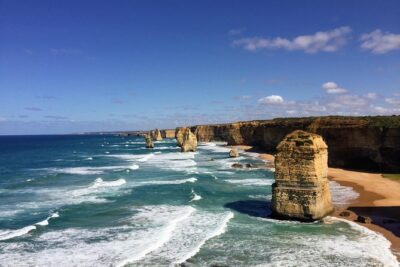 ★ 5.0Great Ocean Road Reverse Itinerary Boutique Tour – Max 11 GuestsFrom $1064,186 reviews
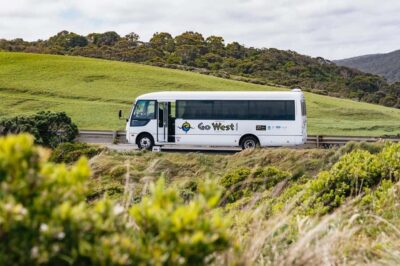 ★ 4.8Great Ocean Road Tour w/ Deluxe Minibus & Top-Rated GuideFrom $1052,644 reviews
 ★ 4.5Great Ocean Road Extended–Top Stops&London BridgeFrom $421,920 reviews
 ★ 4.8Great Ocean Road Boutique Tour in ReverseFrom $971,471 reviews
 ★ 5.0Great Ocean Road Full-Day Sunset Eco Tour from MelbourneFrom $1141,085 reviews
 ★ 4.5Great Ocean Road Tour Plus Koalas, Forest Walk and Morning Tea1,068 reviews
Browse the lists this tour appears in