
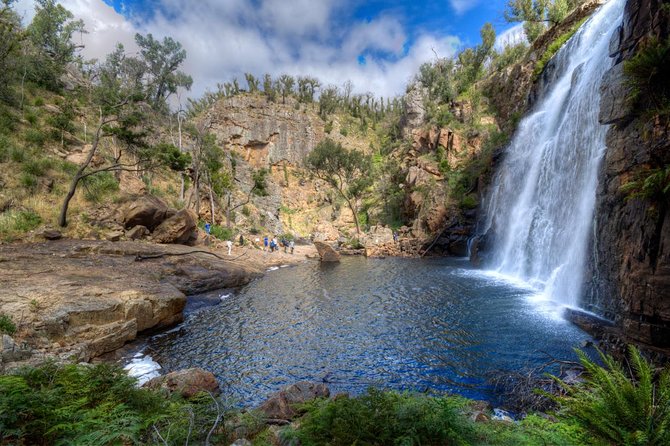
REVIEW · GREAT OCEAN ROAD & TWELVE APOSTLES
Melbourne to Adelaide 3-Day Great Ocean Road & Grampians Tour
Three days of coastline and bush views can feel like a blur. This one-way Melbourne to Adelaide tour strings together the Great Ocean Road icons plus Grampians hikes, with live English commentary that keeps the story straight as you move. I love the combination of major viewpoints with short walks and photo time, and I also like the comfort factor—air-conditioned mini-coach travel with Wi‑Fi. A fair consideration: like most route-based tours, the big stopping points are timed, so you may want extra patience for crowds and quick photo logistics.
I also think this is strong value for the money because you get transport, park access, guided walking, and 2 nights of accommodation plus meals (2 breakfasts and 2 dinners). Guides such as Niall, Janet (J-Dawg), Jordan, Bec, and Blinky get credit for making the day feel organized and personal. If you’re expecting a slow, spend-all-day-in-one-place style trip, this setup might feel more like efficient touring than deep roaming.
In This Review
- Key things I’d plan around before you go
- Price and logistics: what you actually get for $641.93
- Getting on board: comfort, Wi‑Fi, and the value of live English commentary
- Day 1 along the Great Ocean Road: from Westgate Bridge to London Bridge
- Anglesea: surf beach energy in a short time window
- Great Ocean Road Memorial Archway: quick photo stop, big symbolism
- Apollo Bay: a real seaside town break
- Great Otway National Park: the rainforest walk that slows you down
- The Twelve Apostles: iconic cliffs plus boardwalk time (and helicopter optional)
- Loch Ard Gorge: shipwreck coastline + a hidden-beach feel
- London Bridge: limestone formations and a longer 2.5-hour block
- Overnight in Warrnambool
- Day 2 in wildlife country: Tower Hill, Halls Gap, and the Pinnacle hike
- Tower Hill Wildlife Reserve: extinct volcano terrain + wildlife in habitat
- Halls Gap: time to explore and look for kangaroos
- The Pinnacle: the big hike and the reason your legs matter
- Group dinner + overnight in Halls Gap
- Day 3 in the Grampians: Boroka, Reed’s Lookout, and Mackenzie Falls
- Boroka Lookout: fast payoff with panoramic views
- Reed Lookout and the Balconies: the Jaws of Death viewpoint
- Mackenzie Falls: a hike to cool off
- Horsham stop and the Adelaide arrival
- Where you sleep and what you eat: comfort levels you can expect
- How fit you need to be (and how to pack for a moving schedule)
- Who this tour fits best (and who should reconsider)
- Should you book this Melbourne to Adelaide Great Ocean Road & Grampians tour?
- FAQ
- How long is the tour, and is it one-way?
- Where do I meet the tour, and when does it start?
- Where does the tour end in Adelaide?
- What’s included in the price?
- What walking is involved, and how fit do I need to be?
- Is the tour comfortable and does it have onboard Wi‑Fi?
- What’s the group size?
- Can children join, and is there any luggage limit?
- What are the cancellation rules for a refund?
Key things I’d plan around before you go
- Small group size (max 23): easier for stops, group flow, and questions to the guide.
- Live English narration + Wi‑Fi on board: you can learn while traveling, not just stare out the window.
- Guided walking spread across days: total guided bush walking is about 6.5 km, with the Pinnacle being the big effort.
- Two animal-focused days: Tower Hill Wildlife Reserve and Halls Gap are built for seeing wildlife in natural settings.
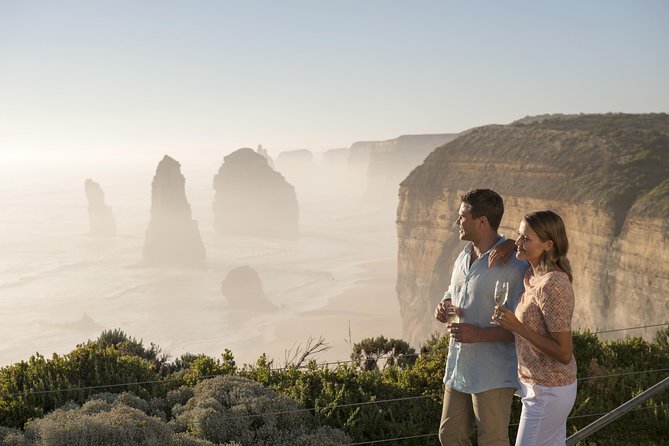
- Iconic coastal stops with boardwalk time: the Twelve Apostles, Loch Ard Gorge, and London Bridge are all designed for quick viewpoint hits.
- Tour ends in Adelaide around 8:00 pm: you’re not just traveling out of Melbourne—you’re actually arriving to start your next day.
More runs down the Great Ocean Road to the Twelve Apostles
- Great Ocean Road Small-Group Eco Tour from Melbourne★ 5.0 · 6,607 reviews
- From Melbourne: Great Ocean Road, 12 Apostles, Wildlife Tour★ 4.7 · 6,020 reviews
- Great Ocean Road Reverse Itinerary Boutique Tour – Max 11 Guests★ 5.0 · 4,186 reviews
- Great Ocean Road Tour w/ Deluxe Minibus & Top-Rated Guide★ 4.8 · 2,644 reviews
Price and logistics: what you actually get for $641.93
For about $641.93 per person, you’re paying for far more than bus seats. You’re covered for one-way transportation from Melbourne to Adelaide, 2 nights of accommodation (Warrnambool and Halls Gap), national park admissions, and guided walking with your driver-guide. You also get 2 breakfasts and 2 dinners, which matters when you’re moving fast and don’t want to hunt for meals every step.
This is why the cost tends to make sense for many people: you’re not only paying for views, you’re paying for someone else to handle routing, timing, and stop sequencing. It’s also one of the easier ways to “do both” destinations—the Great Ocean Road and the Grampians—without renting a car and stressing over navigation.
One more practical point: the tour runs in all weather, and you should dress for it. That means you’ll want layers, shoes that handle slick boardwalks, and a rain layer that won’t fail you the moment the forecast turns.
Getting on board: comfort, Wi‑Fi, and the value of live English commentary
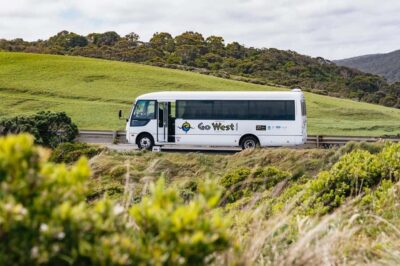
This tour uses an air-conditioned mini-coach with Wi‑Fi and live commentary in English. That combination is underrated. When you’re doing long stretches between viewpoints, the narration keeps the day from feeling like a checklist. It also helps you understand what you’re seeing—coastal geology, wildlife habitat, and local culture—before you start snapping photos.
Small group size matters too. With a maximum of 23 travelers, you’re less likely to feel swallowed by a giant crowd at stops. It also usually means smoother boarding and less time wasted during transitions.
Two things to keep in mind on the comfort side:
- Luggage is limited: plan for 1 suitcase + 1 carry-on. If you’re traveling with oversized items, you’ll want to ask first.
- Seat height can be an issue for very tall passengers; one review noted narrow seating for someone around 6’10. If you’re tall, it’s worth confirming seat dimensions with the operator before booking.
Day 1 along the Great Ocean Road: from Westgate Bridge to London Bridge
Day 1 starts with a quick look at Melbourne from the Westgate Bridge—it’s one of those “turn your head fast” moments because the skyline is the payoff. Right after that, you’re straight into the coast rhythm with a series of stops designed for both scenery and short breaks.
Anglesea: surf beach energy in a short time window
Anglesea is your first taste of the Great Ocean Road vibe. You get about 25 minutes, which is perfect for a quick walk or beach look without turning the day into a marathon. Even if you’re not planning to swim, this is a good mental warm-up for the rugged coast ahead.
Deeper into the Grampians, a few more to compare
Great Ocean Road Memorial Archway: quick photo stop, big symbolism
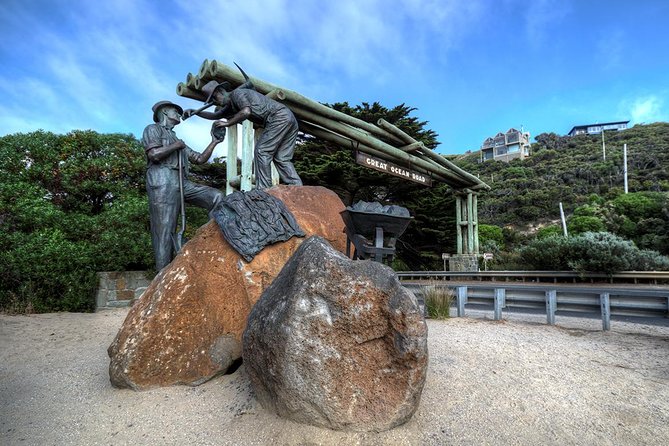
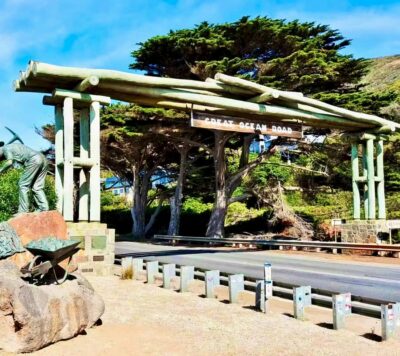
At the Memorial Archway, the schedule is light—around 15 minutes. It’s a common stop for a reason: it sets the tone for the road and gives you a background checkpoint before you head deeper into the coastal icons.
Apollo Bay: a real seaside town break
Apollo Bay is where the tour gives you breathing room—about 1 hour. This is an easy stop to stretch, grab a snack if you want (food is not included unless specified), and decide whether you want a short shoreline walk or just people-watch from a café.
Great Otway National Park: the rainforest walk that slows you down
One of the best “take-your-time” moments is the guided walk in Great Otway National Park (about 40 minutes). You’re walking through a natural rainforest setting, which feels like a reset after open ocean viewpoints. If you only associate this region with cliffs and sea spray, this section changes the story.
The Twelve Apostles: iconic cliffs plus boardwalk time (and helicopter optional)
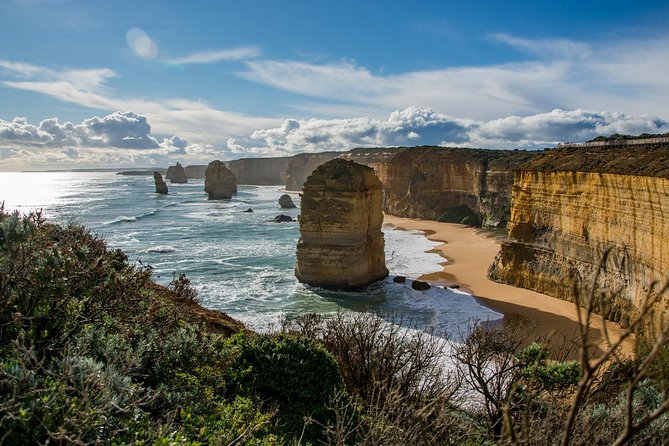
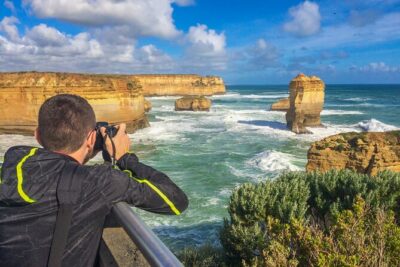
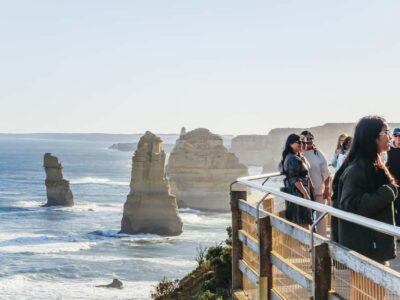
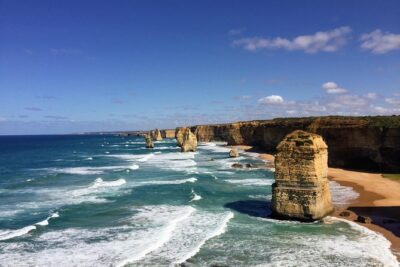
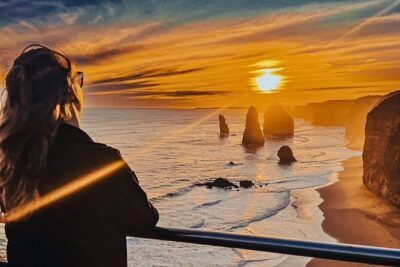
You’ll get around 50 minutes at the Twelve Apostles area. You can stroll the clifftop boardwalks and work through the viewing points at your own pace within the time limit.
There’s also an optional extra: a 15-minute scenic helicopter over the Apostles. It’s weather- and time-permitting, so it’s not guaranteed, but it’s the kind of add-on that makes sense if you’re the sort of person who wants a “from-above” perspective.
Also, one caution from real-world pacing: the time at the Apostles can feel tight if you spend extra time climbing stair sections and looping back to the pickup area. If you move slowly or like long photo sessions, plan for more crowd and route-wrangling.
Loch Ard Gorge: shipwreck coastline + a hidden-beach feel
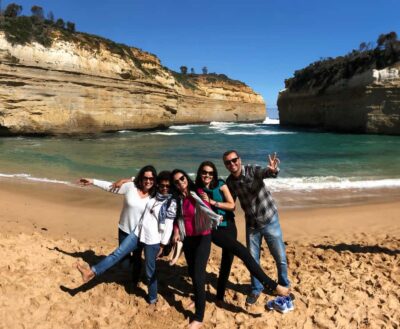
Next up is Loch Ard Gorge (about 50 minutes). This stop is built around the dramatic shipwreck coastline, with time to explore and visit a hidden beach area. It’s a good stop when you want the coast to feel a little more intimate than the big cliff panorama spots.
London Bridge: limestone formations and a longer 2.5-hour block
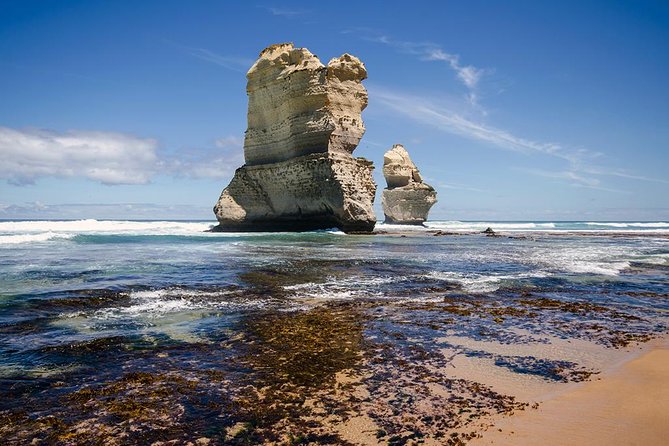
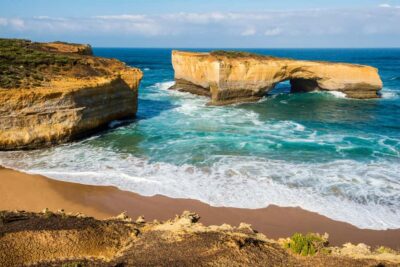
London Bridge gets the most time on Day 1—about 2.5 hours. There are three viewing platforms, so you can do it in a layered way: start with the big overview, then move to alternative angles for photos and the best perspective.
Overnight in Warrnambool
You finish the day in Warrnambool, staying at a local motel. It’s a practical end point after a full day of stop-and-go coast sightseeing.
Day 2 in wildlife country: Tower Hill, Halls Gap, and the Pinnacle hike
Day 2 starts with breakfast at a local beachside café (about 1 hour). This isn’t just about food. It’s also an early morale boost before you move into the more active parts of the itinerary.
Tower Hill Wildlife Reserve: extinct volcano terrain + wildlife in habitat
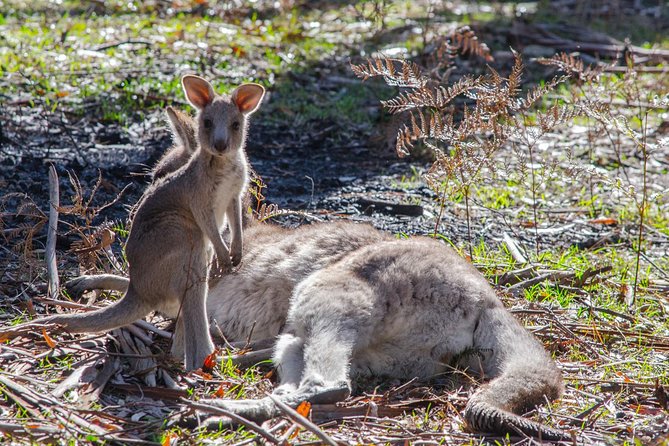
Tower Hill is a standout morning stop (about 2 hours). You’re walking in an extinct volcano landscape, and you’ll also get the Aboriginal history context tied to the area. The point here is wildlife viewing in a natural setting, not zoo-style viewing.
If you’re animal-focused, this is one of the best days to keep your eyes open. One guide is even credited with a koala day record of 34 in a single outing, which hints at how tuned-in the spotting can be when conditions cooperate.
Halls Gap: time to explore and look for kangaroos
You arrive in Halls Gap around lunchtime with about 1 hour to explore. Then you head to the Halls Gap Visitor Information Centre (about 50 minutes), where you learn about Indigenous culture and local history. It’s also a solid planning moment if you want to maximize your wildlife chances and hike viewpoints.
The Pinnacle: the big hike and the reason your legs matter
The afternoon hike to The Pinnacle is the day’s main fitness test, clocking in around 3 hours. You’ll climb to a lookout with big Grampians views, and this is where the tour earns its reputation for being more than just photo stops.
Plan for a moderate fitness level. It’s not described as extreme, but the schedule is active and the time commitment is real.
Group dinner + overnight in Halls Gap
You’ll finish with a group dinner and overnight in Halls Gap. Dinner is included, but keep expectations realistic: at least one review called out that the BBQ dinner felt more budget than celebratory, with simpler items. If that’s a deal-breaker for you, I’d consider carrying a snack or planning one optional meal outside the included dinner.
Day 3 in the Grampians: Boroka, Reed’s Lookout, and Mackenzie Falls
Day 3 keeps things scenic but adds a “choose your pace” feel at the start. Breakfast is included at your accommodation (about 1 hour). If you’re keen about early starts, ask your guide about sunrise viewing—those views are described as spectacular.
Then the day splits into lookout and short hike segments, which is a smart pacing strategy. You’re not asked to do one massive trek after another.
Boroka Lookout: fast payoff with panoramic views
At Boroka Lookout, you get about 20 minutes. It’s short by design, giving you a classic panoramic perspective without burning the whole day.
Reed Lookout and the Balconies: the Jaws of Death viewpoint
Next is Reed Lookout plus The Balconies (about 45 minutes). The Balconies are also nicknamed Jaws of Death, and the time window is enough to take in the viewpoint and do the short walking sections comfortably.
Mackenzie Falls: a hike to cool off
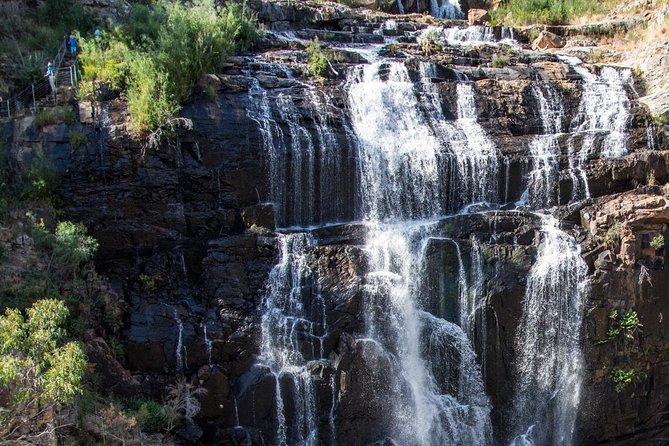
Then you head to Mackenzie Falls, with about 45 minutes to hike to the base. This is your best “get a little exercise and feel nature up close” moment on the final day, and it’s a good way to end with a sense of relief after the climbing on Day 2.
Horsham stop and the Adelaide arrival
Finally, there’s a stop in Horsham (about 45 minutes) for lunch and a quick town look. After that, the group splits by destination in the broader route, and the Adelaide-bound portion continues east through Boardtown.
You arrive in Adelaide around 8:00 pm into the city center area, with drop-off at 83 Franklin St bus station. This is late enough that dinner plans might matter, so I’d line up an easy option near where you’re staying.
Where you sleep and what you eat: comfort levels you can expect
Accommodation is included: 2 nights in Warrnambool and 2 nights in Halls Gap. The Warrnambool stay is described as a local motel, which usually means private rooms or at least typical motel-style comfort.
In Halls Gap, you might find more variation. One review noted that some accommodations were youth-hostel style with shared dorm-style sleeping, along with an option to upgrade to private rooms. If you care about room layout and privacy, it’s worth asking ahead of time what room types are currently offered under your booking.
Food is partially included:
- Breakfast: included twice
- Dinner: included twice
Everything else is on you, unless specified. That means you can steer meals toward what you personally like. One review also noted a BBQ dinner that didn’t match expectations, so think of the included meals as practical fuel, not fine dining.
How fit you need to be (and how to pack for a moving schedule)
This tour asks for moderate physical fitness. The guided walking total is listed at about 6.5 km, but the time spread matters more than the distance. You’ll have:
- a rainforest walk early on,
- a longer hike to The Pinnacle (about 3 hours),
- and a shorter hike to Mackenzie Falls.
So I’d pack for uneven terrain: grippy shoes, a light daypack, and something for sun and rain. The tour runs in all weather, so even if the forecast looks decent, you’ll be better off with layers.
Who this tour fits best (and who should reconsider)
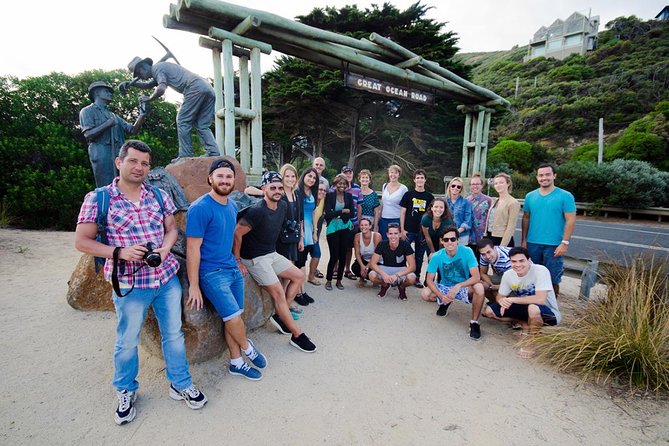
This is a great fit if you want:
- major sights without driving, and you want someone else to handle the route,
- live narration that makes the scenery easier to understand,
- and a mix of lookouts plus real walking time.
It’s also a good solo option because the small-group format (max 23) encourages interaction during long stops and shared dinner.
You might reconsider if:
- you’re very tall or sensitive to narrow bus seating,
- you hate timed photo stops and would rather spend hours in one viewpoint,
- or you need private, quiet accommodations every night. Shared-style setups may appear in some departures, and the itinerary style won’t change that.
Should you book this Melbourne to Adelaide Great Ocean Road & Grampians tour?
Book it if you want an efficient, well-timed way to connect the Great Ocean Road and Grampians with guided walking and wildlife stops, and you’d rather trade navigation headaches for someone else’s planning. The strongest reason to pick it is the way the day flows: you get major icons, guided context, and enough activity to feel like you did more than sit at the window.
Hold off or ask questions first if private-room comfort is your top priority, or if your hiking tolerance is limited. Also, if you’re the type who needs long, unhurried time at the Twelve Apostles, know that stop timing can feel quick.
If you want, tell me your travel style (photo lover vs. hiker vs. wildlife spotter) and your dates, and I’ll suggest the best way to prioritize your time across the three days.
FAQ
How long is the tour, and is it one-way?
It runs for about 3 days and is a one-way transfer from Melbourne to Adelaide.
Where do I meet the tour, and when does it start?
You start at Immigration Museum, 400 Flinders St, Melbourne VIC 3000, with a start time of 7:35 am.
Where does the tour end in Adelaide?
The tour ends at 83 Franklin St, with drop-off in the city area at approximately 7:30 pm.
What’s included in the price?
The tour includes 2 nights of accommodation (Halls Gap and Warrnambool), national park admissions, guided bush walking (~6.5 km total), air-conditioned mini-coach travel with Wi‑Fi, live English commentary, 1-way transfer from Melbourne to Adelaide, and 2 breakfasts plus 2 dinners.
What walking is involved, and how fit do I need to be?
You should have moderate physical fitness. You’ll do guided bush walking totaling around 6.5 km, including longer hikes such as The Pinnacle and a hike to the base of Mackenzie Falls.
Is the tour comfortable and does it have onboard Wi‑Fi?
Yes. You travel by air-conditioned mini-coach and it includes Wi‑Fi. The driver-guide provides live commentary in English.
What’s the group size?
The tour has a maximum of 23 travelers.
Can children join, and is there any luggage limit?
Children aged 6 to 17 require an upgrade to private accommodation and must be accompanied by an adult or legal guardian. You’re allowed 1 suitcase and 1 carry-on bag, and oversized items may have restrictions.
What are the cancellation rules for a refund?
You can cancel up to 6 days in advance for a full refund. For a 50% refund, cancel 2–6 full days before the start time, and no refund applies if you cancel less than 2 days before departure.
More Tour Reviews in Melbourne
- Great Ocean Road Small-Group Eco Tour from Melbourne
★ 5.0 · 6,607 reviews - From Melbourne: Great Ocean Road, 12 Apostles, Wildlife Tour
★ 4.7 · 6,020 reviews - Laid back, Yarra Valley Wine Tour: Wine, Cider, Gin, Beer + Choc
★ 5.0 · 4,552 reviews - Great Ocean Road Reverse Itinerary Boutique Tour – Max 11 Guests
★ 5.0 · 4,186 reviews - Penguin Parade, & Wildlife Encounters Eco Tour from Melbourne
★ 5.0 · 3,774 reviews - Melbourne: Yarra Valley Wine, Gin, Whisky and Chocolate Tour
★ 5.0 · 3,667 reviews
Further Into the Grampians
- Grampians National Park Small-Group Eco Tour from Melbourne
★ 5.0 · 761 reviews - Grampians National Park Small-Group Eco Day Tour
★ 4.8 · 577 reviews - Small-Group Grampians Great Wildlife Escape Day Trip with Hiking
★ 5.0 · 160 reviews - Grampians National Park with MacKenzie Falls and Kangaroos
★ 4.5 · 121 reviews - From Melbourne: Grampians National Park Small Group Tour
★ 4.8 · 96 reviews - From Melbourne Grampians National Park Kangaroos Guided Tour
★ 4.4 · 91 reviews
The Great Ocean Road, A Few More Ways
- Great Ocean Road Small-Group Eco Tour from Melbourne
★ 5.0 · 6,607 reviews - From Melbourne: Great Ocean Road, 12 Apostles, Wildlife Tour
★ 4.7 · 6,020 reviews - Great Ocean Road Reverse Itinerary Boutique Tour – Max 11 Guests
★ 5.0 · 4,186 reviews - Great Ocean Road Tour w/ Deluxe Minibus & Top-Rated Guide
★ 4.8 · 2,644 reviews - Melbourne Great Ocean Rd Reverse Tour London Bridge Wildlife
★ 4.7 · 2,252 reviews - Melbourne: Great Ocean Road Extended–Top Stops&London Bridge
★ 4.5 · 1,920 reviews
Fresh off the rank: Melbourne tours we have written up lately




Great Ocean Road & Twelve Apostles, side by side.
 ★ 5.0Great Ocean Road Small-Group Eco Tour from MelbourneFrom $1066,607 reviews
 ★ 4.7Great Ocean Road, 12 Apostles, Wildlife TourFrom $946,020 reviews
 ★ 5.0Great Ocean Road Reverse Itinerary Boutique Tour – Max 11 GuestsFrom $1064,186 reviews
 ★ 4.8Great Ocean Road Tour w/ Deluxe Minibus & Top-Rated GuideFrom $1052,644 reviews
 ★ 4.7Melbourne Great Ocean Rd Reverse Tour London Bridge WildlifeFrom $462,252 reviews
 ★ 4.5Great Ocean Road Extended–Top Stops&London BridgeFrom $421,920 reviews
 ★ 4.8Great Ocean Road Boutique Tour in ReverseFrom $971,471 reviews
 ★ 5.0Great Ocean Road Full-Day Sunset Eco Tour from MelbourneFrom $1141,085 reviews
Browse the lists this tour appears in